Why Smoked Ribs Are Worth the Wait
There’s nothing quite like pulling a rack of perfectly smoked ribs off the grill — the bark crackling, the meat pulling clean from the bone, and that deep smoky flavor running through every bite. The good news? You don’t need years of experience or a competition-grade smoker to make this happen. A pellet grill, a few hours of patience, and the right technique will get you there.
This guide walks you through every step of smoking ribs, from choosing your rack to slicing and serving. Whether you’re firing up a pellet grill for the first time or looking to fine-tune your process, you’ll find everything you need right here.
Choosing the Right Ribs
Not all ribs are created equal. The type you choose affects cooking time, flavor, and how forgiving they are for beginners. Here are the three most common cuts you’ll find at the store:
Baby Back Ribs
Cut from the upper back of the pig near the loin, baby backs are shorter, leaner, and more tender than other cuts. They cook faster (typically 4–5 hours) and are very forgiving for beginners. The downside is they have less fat, so they can dry out if you overcook them. Baby backs are a great starting point if this is your first smoke.
Spare Ribs
Cut from the belly side of the pig, spare ribs are larger, meatier, and fattier than baby backs. The extra fat keeps them moist during long cooks and delivers a richer pork flavor. They take longer to smoke (5–6 hours) but are harder to overcook. If you want the classic BBQ rib experience, spare ribs are the way to go.
St. Louis Style Ribs
These are spare ribs with the cartilage tips and breastbone trimmed off, creating a cleaner, more rectangular rack. They cook more evenly than untrimmed spare ribs and look great on the plate. Most grocery stores sell them pre-trimmed, which saves you the work.
Our recommendation for beginners: Start with baby back ribs. They’re more forgiving, cook faster, and still deliver excellent results. Once you’re comfortable with the process, move on to St. Louis style or spare ribs for a bigger, meatier cook.
What You’ll Need
Before you fire up the smoker, make sure you have everything ready. Here’s your checklist:
- 1–2 racks of ribs (baby back or St. Louis style)
- Yellow mustard — used as a binder so the rub sticks (you won’t taste it after smoking)
- Your favorite BBQ dry rub — store-bought works great, or make your own with brown sugar, paprika, garlic powder, onion powder, black pepper, and salt
- Wood pellets — hickory, apple, cherry, or a blend (more on this below)
- Aluminum foil — heavy-duty works best for wrapping
- Spray bottle — filled with apple cider vinegar or apple juice for spritzing
- BBQ sauce — your favorite brand for the final glaze
- Meat thermometer — an instant-read probe is essential
- Paper towels — for removing the membrane
Choosing the Best Wood for Ribs
The wood you use makes a real difference in flavor. Ribs pair well with fruit woods and medium-strength hardwoods — for a deeper look at the two heavy hitters in BBQ, see our hickory vs mesquite guide, or our complete wood flavor pairing guide. Here’s what works best for ribs specifically:
- Apple — mild and slightly sweet. Great for pork ribs, especially baby backs. This is the safest choice for beginners.
- Cherry — adds a beautiful mahogany color to the bark and a subtle sweetness. Works with any rib type.
- Hickory — the classic BBQ wood. Delivers strong, smoky flavor. Works especially well with spare ribs. Use it alone or blend it with apple or cherry to balance the intensity.
- Pecan — similar to hickory but milder and slightly nutty. Excellent all-around choice.
- Oak — clean, medium smoke flavor. A solid base wood that blends well with others.
Avoid mesquite for ribs — it’s too strong for the long cook time and can make the meat taste bitter. Save mesquite for quick-grilling steaks and burgers.
Step 1: Prep Your Ribs
Good prep is the foundation of great ribs. Take your time here — it makes a bigger difference than any secret rub recipe.
Remove the Membrane
Flip the ribs bone-side up. You’ll see a thin, shiny membrane (called the peritoneum) covering the back of the bones. This membrane doesn’t break down during cooking and blocks smoke from penetrating the meat. Removing it is the single most important prep step.
To remove it: slide a butter knife under the membrane at one corner to loosen it, then grip it with a paper towel (it’s slippery) and peel it off in one sheet. If it tears, just grab the next piece and keep pulling. It gets easier with practice.
Trim Excess Fat
Remove any large chunks of hard fat on the meat side. You want to leave a thin, even layer of fat — about ¼ inch — that will render during cooking and keep the meat moist. Don’t go overboard; a little fat is your friend.
Apply the Binder and Rub
Coat both sides of the ribs with a thin layer of yellow mustard. This acts as a binder that helps the dry rub stick to the meat. Don’t worry — the mustard flavor completely disappears during smoking.
Apply your dry rub generously on both sides (no go-to yet? our best BBQ rubs roundup has picks for every meat). Sprinkle it from about 12 inches above the ribs for even coverage, and don’t forget the edges. Let the rubbed ribs sit in the refrigerator for 30 minutes to an hour while you preheat your smoker. This gives the rub time to form a paste that creates better bark.
Step 2: Set Up Your Smoker
Preheat your smoker to 225°F. This is the sweet spot for ribs — low enough to slowly break down connective tissue and render fat, but hot enough to finish in a reasonable time.
If you’re using a pellet grill, this is incredibly easy: fill the hopper, set the temperature to 225°F, and wait about 15 minutes for it to come up to temp. The PID controller handles everything from there.
Make sure you have enough pellets for a 5–6 hour cook. A good rule of thumb is about 1–2 pounds of pellets per hour at 225°F, depending on your grill and outside temperature.
Step 3: The Smoke (3-2-1 Method)
The 3-2-1 method is the most popular way to smoke ribs, especially for beginners. It’s simple, repeatable, and produces consistently great results. Here’s how it works:
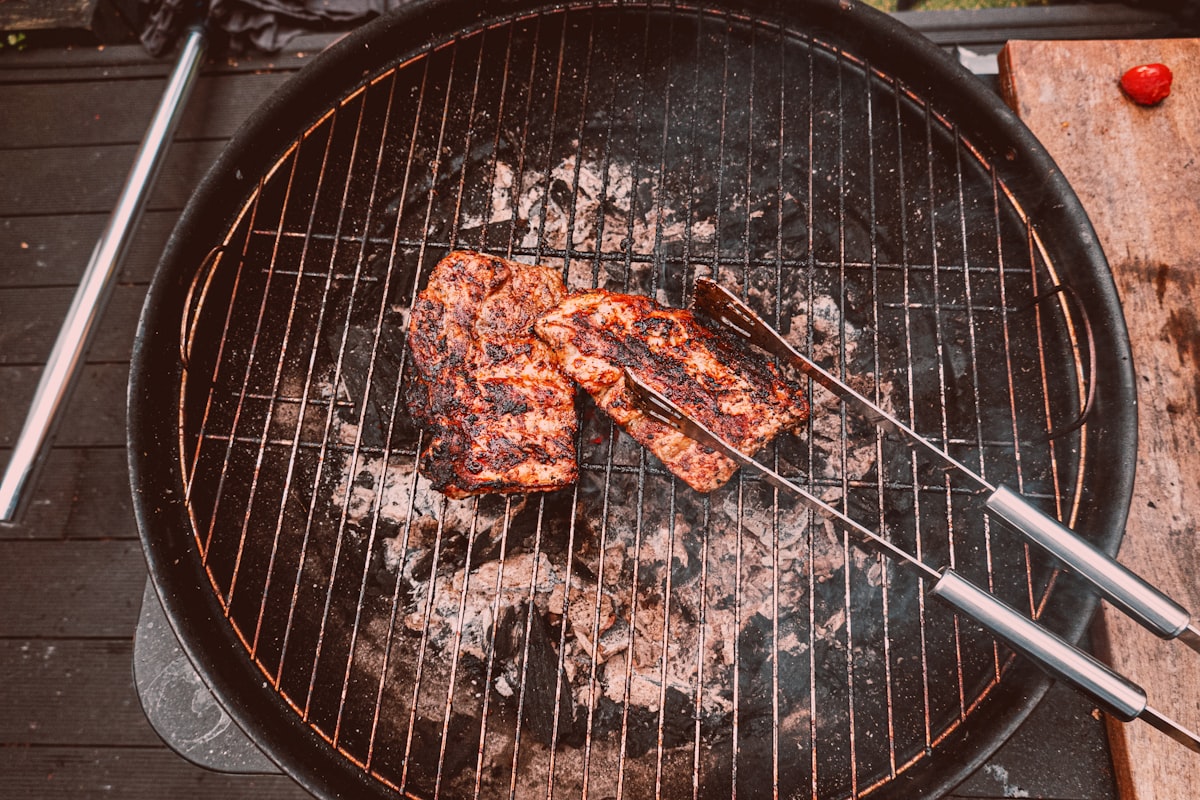
Phase 1: Smoke (3 Hours)
Place your ribs on the smoker meat side up, bone side down. Close the lid and resist the urge to peek for the first 2 hours — every time you open the lid, you lose heat and smoke.
This is when the ribs absorb the most smoke flavor and start building bark. After about 2 hours, you can begin spritzing with apple cider vinegar or apple juice every 45 minutes. This adds moisture and helps build a sticky, flavorful bark.
After 3 hours, you should see a nice reddish-brown color developing, and the meat will have pulled back from the bone ends about ¼ inch.
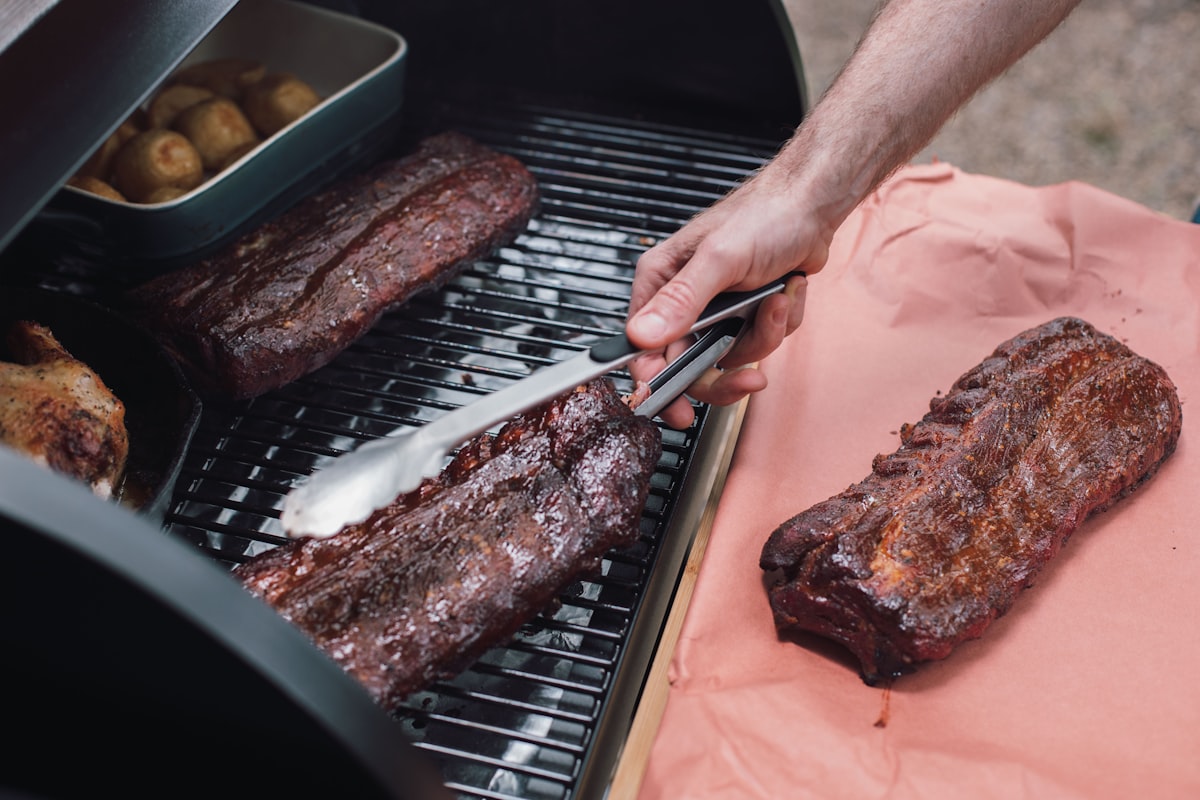
Phase 2: Wrap (2 Hours)
This is the tenderizing phase. Remove the ribs from the smoker and wrap each rack tightly in aluminum foil. Before sealing, add a splash of liquid — apple juice, apple cider vinegar, or even beer work great. Some pitmasters also add a drizzle of honey and a few pats of butter inside the foil packet for extra richness.
Place the wrapped ribs back on the smoker at 225°F for 2 hours. The foil creates a steaming environment that breaks down collagen and makes the meat incredibly tender. This is the step that transforms tough ribs into melt-in-your-mouth ribs.
Phase 3: Sauce and Finish (1 Hour)
Unwrap the ribs and place them back on the smoker, meat side up. Brush a generous layer of your favorite BBQ sauce on the meat side. Let them cook uncovered for the final hour at 225°F.
During this phase, the sauce caramelizes into a sticky glaze while the bark firms back up after being softened in the foil. If you want extra layers of sauce, apply a second coat after 30 minutes. (Looking for the right sauce style? Our guide to BBQ sauces covers Kansas City, Carolina, Alabama white, and more.)
Important note for baby back ribs: Baby backs are smaller and leaner than spare ribs, so the full 3-2-1 can sometimes overcook them. Try a 2-2-1 method instead (2 hours smoke, 2 hours wrapped, 1 hour glazed) and check for doneness early.
How to Tell When Ribs Are Done
Don’t rely on time alone — every rack is different. Use these three tests to know when your ribs are perfectly done:
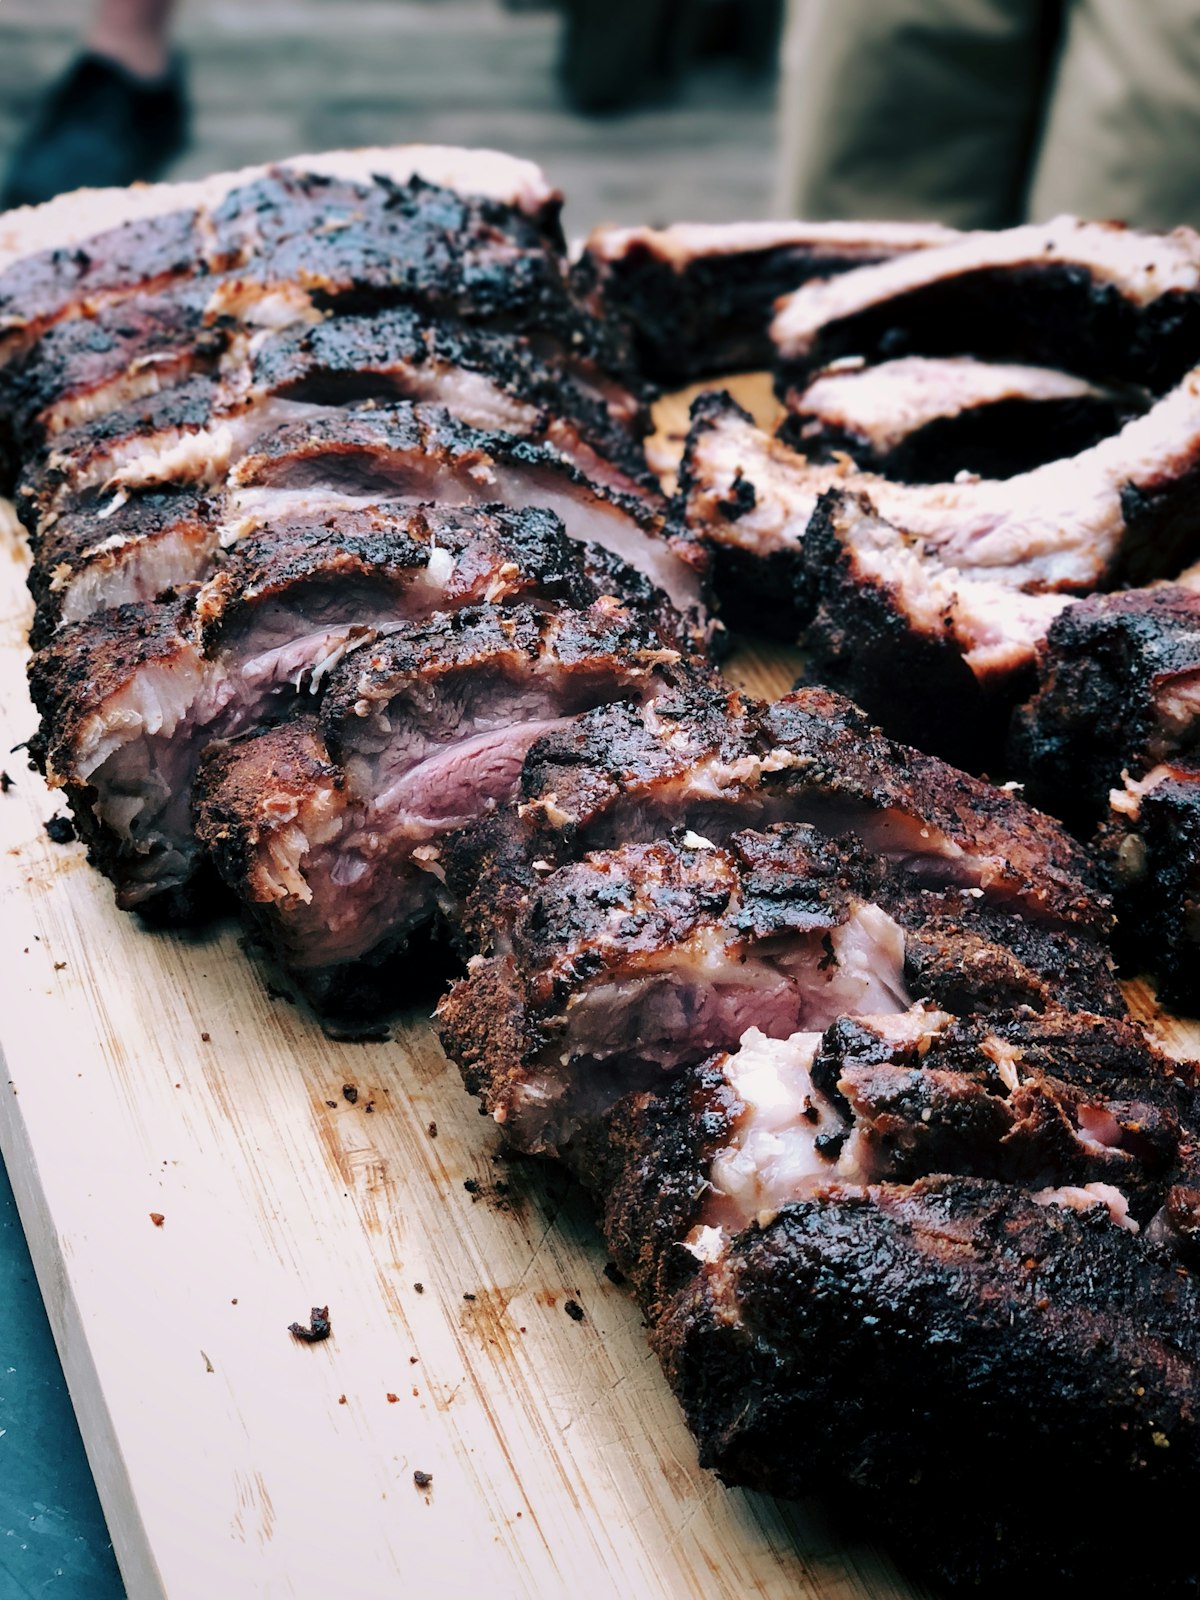
- The bend test: Pick up the rack with tongs at the center. If the meat cracks on the surface and the rack bends easily (almost breaking in half), they’re done. If the rack bounces back like rubber, keep cooking.
- The bone pullback: The meat should have pulled back from the bone ends by about ½ inch, exposing clean white bone. This is a reliable visual indicator.
- Internal temperature: Use a meat thermometer inserted between the bones. Ribs are done when they reach 195–203°F. At this temperature, the collagen has fully broken down and the meat is tender without being mushy.
The ideal rib should pull cleanly from the bone with a gentle tug, but not fall off the bone by itself. If the meat is falling off before you even touch it, they’re slightly overcooked — still delicious, but competition pitmasters would call them overdone.
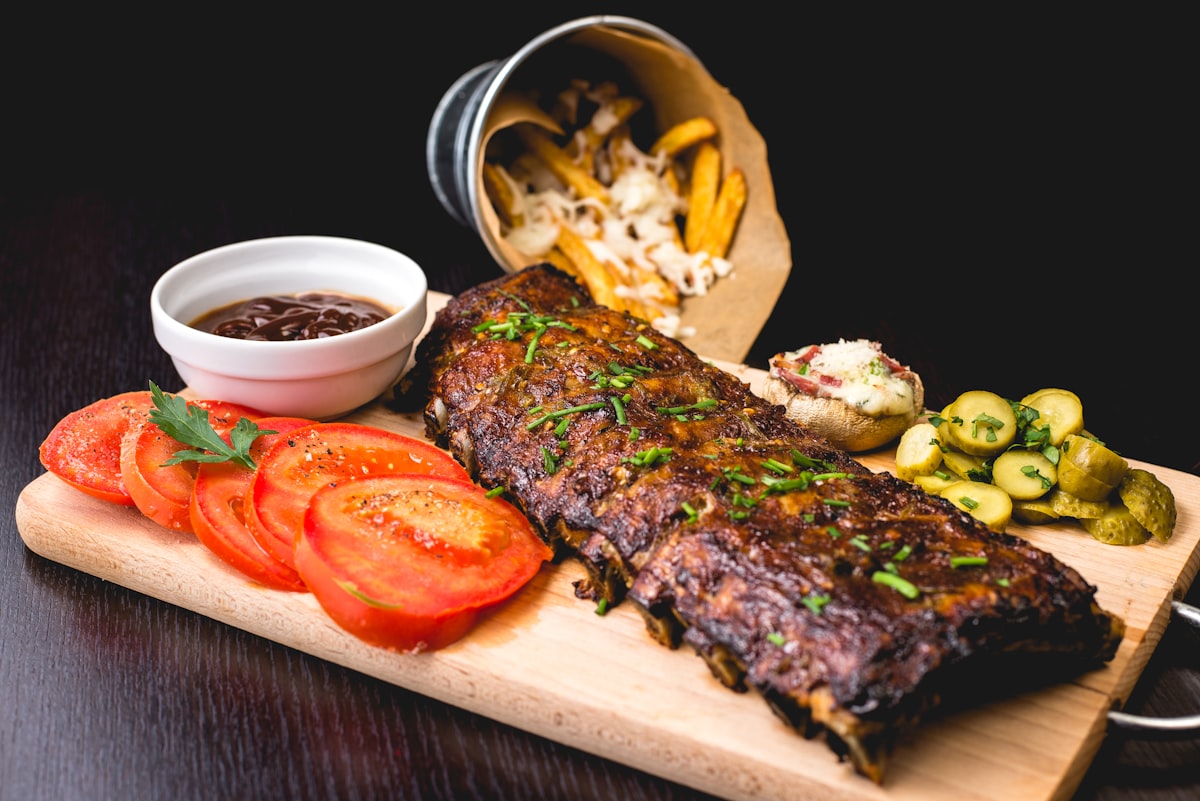
Rest, Slice, and Serve
Once your ribs hit the target temperature and pass the bend test, remove them from the smoker and let them rest for 10–15 minutes before cutting. Resting allows the juices to redistribute through the meat so they don’t all run out when you slice.
To slice, flip the rack bone-side up and cut between each bone with a sharp knife. The bones serve as natural guides, making this easy. Pile them on a platter, add any extra sauce on the side, and serve immediately.
Common Mistakes to Avoid
Even experienced grillers make these errors. Avoid them and your ribs will turn out great every time:
- Skipping the membrane removal — this is the number one mistake beginners make. The membrane blocks smoke penetration and creates a chewy, unpleasant texture.
- Opening the lid too often — every peek drops the temperature 25–50°F and adds 15+ minutes to your cook time. Trust the process.
- Cooking too hot — anything above 275°F cooks the ribs too fast, leaving the connective tissue tough instead of tender. Stay at 225°F.
- Saucing too early — BBQ sauce contains sugar that burns at high temperatures. Only apply sauce in the final hour.
- Not using a thermometer — guessing leads to inconsistent results. A $15 instant-read thermometer is the best investment you can make.
- Over-smoking — if you’re using a strong wood like hickory, the ribs can take on a bitter, acrid flavor after too many hours of heavy smoke. The foil wrap in the 3-2-1 method helps prevent this.
Quick Reference: Rib Smoking Cheat Sheet
| Detail | Baby Backs | Spare / St. Louis |
|---|---|---|
| Smoker temp | 225°F | 225°F |
| Method | 2-2-1 | 3-2-1 |
| Total cook time | 4–5 hours | 5–6 hours |
| Done temp | 195–203°F | 195–203°F |
| Best wood | Apple, cherry | Hickory, pecan, oak |
| Rest time | 10–15 min | 10–15 min |
Frequently Asked Questions
Can I smoke ribs on a pellet grill?
Absolutely — pellet grills are one of the easiest ways to smoke ribs. The digital temperature controller maintains a steady 225°F without any babysitting, so you can focus on enjoying the process instead of managing airflow and fuel. Just fill the hopper, set the temp, and let the grill do the work. For reliable internal temps during the cook, a wireless meat thermometer beats the grill’s built-in probe every time.
Do I have to use the 3-2-1 method?
No — the 3-2-1 is a guideline, not a rule. Many experienced pitmasters skip the foil wrap entirely and smoke ribs “naked” the whole way through for a firmer bark. Others use butcher paper instead of foil for a middle ground. The 3-2-1 method is simply the most reliable approach for beginners because it’s hard to mess up.
Should ribs fall off the bone?
This is a matter of personal preference. In BBQ competitions, ribs that fall off the bone are actually considered overcooked. The ideal competition rib has a clean bite — the meat pulls away from the bone with a gentle tug but stays intact. That said, plenty of people (including many pitmasters at home) prefer fall-off-the-bone tender ribs. Cook them the way you and your family enjoy them. For the exact internal temps that define doneness across every cut, keep our BBQ temperature guide handy.
How many ribs should I buy per person?
Plan on about ½ rack of baby backs or ⅓ rack of spare ribs per adult as a main course. If ribs are the star of the meal with minimal sides, bump it up to ¾ rack per person. It’s always better to have leftovers — smoked ribs reheat beautifully.
Can I smoke ribs ahead of time?
Yes. Smoke the ribs through the wrap phase (phases 1 and 2), then cool them in the foil and refrigerate for up to 3 days. When ready to serve, unwrap, sauce, and finish on the smoker or in a 250°F oven for about an hour. This is a great strategy for hosting parties — do the heavy lifting the day before.
Ready to Start Smoking?
What to Smoke Next
Once ribs feel easy, level up your repertoire:
- How to Smoke a Brisket — the BBQ holy grail
- How to Smoke a Pork Shoulder — the easiest “big cook” for beginners
- Smoked Beef Short Ribs (Dino Ribs) — beefy, decadent, and simpler than brisket
- Smoking Meat for Beginners — the full fundamentals hub
- Why Is My Smoked Meat Bitter? — troubleshooting common issues
Smoking ribs is one of the most rewarding things you can do on a grill. The process is simple, the results are impressive, and once you nail it, you’ll be the person everyone calls when it’s time for a backyard cookout.
Start with baby backs, follow the 2-2-1 method, and don’t overthink it. Your first rack might not be perfect — but it’ll be delicious, and every cook after that gets better.
Looking for the right grill to get started? Check out our Best Pellet Grills Under $500 — every grill on that list can smoke ribs beautifully on day one.