Smoking meat looks intimidating from the outside — wood chunks, temperature probes, 12-hour cooks, mysterious “stalls.” But here’s the truth: smoking meat is one of the easiest forms of cooking once you understand a few basic principles. Anyone can produce restaurant-quality smoked meat in their backyard with the right approach.
This complete beginner’s guide walks you through everything you need to know to start smoking meat — the equipment, the meats, the wood, the technique, and the most common mistakes that ruin beginners’ first cooks. By the end, you’ll have a clear roadmap for your first smoke.
What Is Smoking, Exactly?
Smoking is slow-cooking meat at low temperatures (usually 225–275°F) using wood smoke as both a flavor source and a cooking medium. The low temperature breaks down tough connective tissue over hours, transforming cheap, tough cuts of meat into tender masterpieces. The smoke adds the iconic BBQ flavor and creates the pink “smoke ring” you see in good brisket and pork shoulder.
Smoking vs. grilling: Grilling is hot and fast (400–700°F) for tender cuts like steaks and burgers. Smoking is low and slow for tough cuts that need hours to break down. Different tools, different techniques, completely different results.
Hot smoking vs. cold smoking: This guide focuses on hot smoking (the standard backyard method), which cooks the meat while infusing smoke flavor. Cold smoking is a specialized technique for adding smoke flavor without cooking, used for things like cheese, salmon, and bacon — not where beginners should start.
Choose Your Smoker (or Use What You Have)
You don’t need to spend $1,000 on a fancy smoker to start. Here’s a quick rundown of your options, ranked by ease of use for beginners:
- Pellet grill: Easiest. Set a temperature, fill the hopper, walk away. PID controllers maintain temp automatically. Best for beginners who want consistency.
- Electric smoker: Cheapest entry point. Truly set-and-forget, even simpler than pellet. Less smoke flavor than other options.
- Charcoal smoker (bullet/kettle): Best flavor for the price. Steeper learning curve to manage fire and vents.
- Gravity-fed charcoal: Best of both worlds — real charcoal flavor with digital control. More expensive.
- Offset stick burner: Authentic Texas BBQ flavor. Hardest to use — requires constant fire management. Skip this for your first smoker.
Not sure which to pick? See our complete guide to the best smokers for beginners with reviews of the top six options across every price range.
Already own a kettle grill? You can absolutely smoke on it. Set up two-zone cooking: pile coals on one side, place meat on the cool side, add a wood chunk or two. It works great for ribs, chicken, and small pork butts. Not ideal for 12-hour brisket cooks.
Essential Equipment You Actually Need
Most “must-have” smoker accessory lists are pure marketing. Here’s what actually matters:
- Wireless meat thermometer with two probes — Non-negotiable. One probe monitors grate temp (because built-in gauges lie), one monitors internal meat temp. View on Amazon
- Heat-resistant gloves — For handling hot grates and meat. Welding gloves work great
- Pink butcher paper or aluminum foil — For wrapping during long cooks
- Sharp boning knife and slicing knife — Don’t use a serrated knife on smoked meat
- Spray bottle — For spritzing meat with apple juice, vinegar, or water during cooks
- Disposable foil pans — For catching drippings and easier cleanup
- Insulated cooler — For resting large cuts after cooking
Skip these: Charcoal chimneys (useful but not essential), water pans (most pellet grills don’t need them), expensive injection systems (for advanced users), gimmicky “smoke tubes” (your smoker already makes smoke).
The 5 Best Meats for Your First Smokes
Don’t start with a $100 brisket. Begin with forgiving cuts that produce great results even when you make mistakes. Here are the best beginner smokes ranked by difficulty:
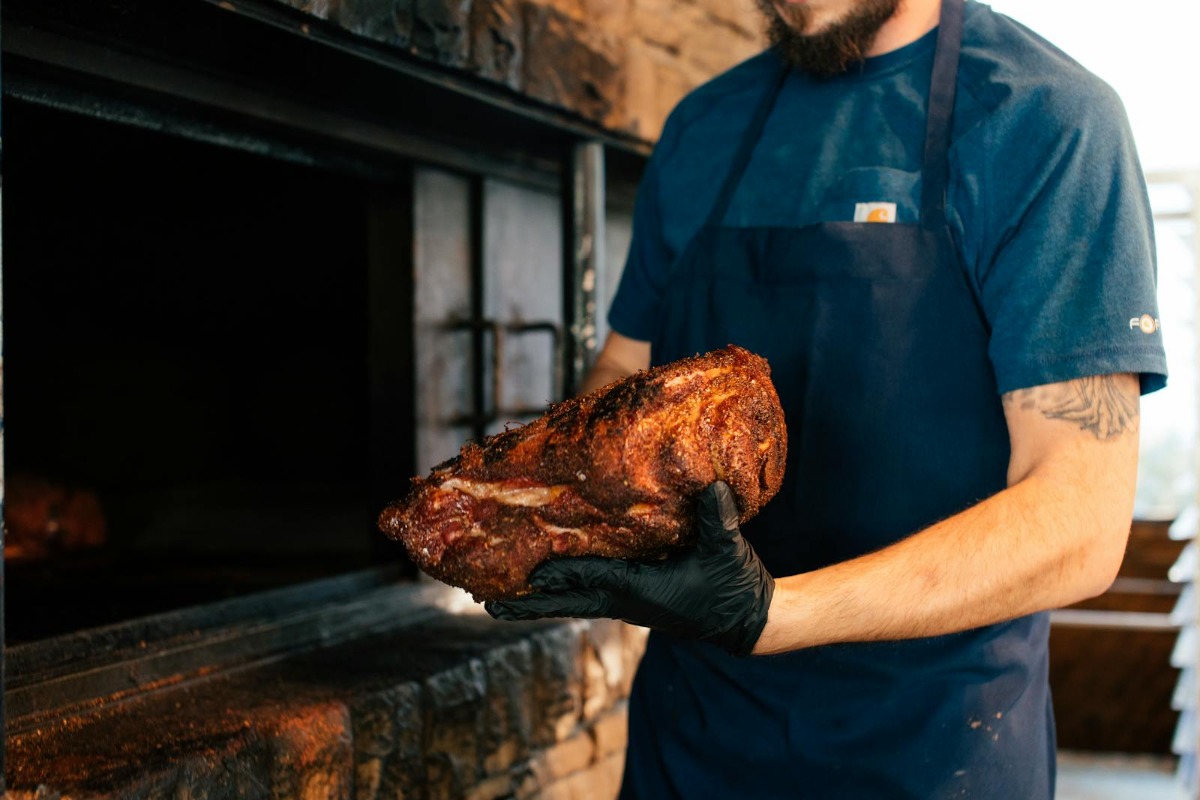
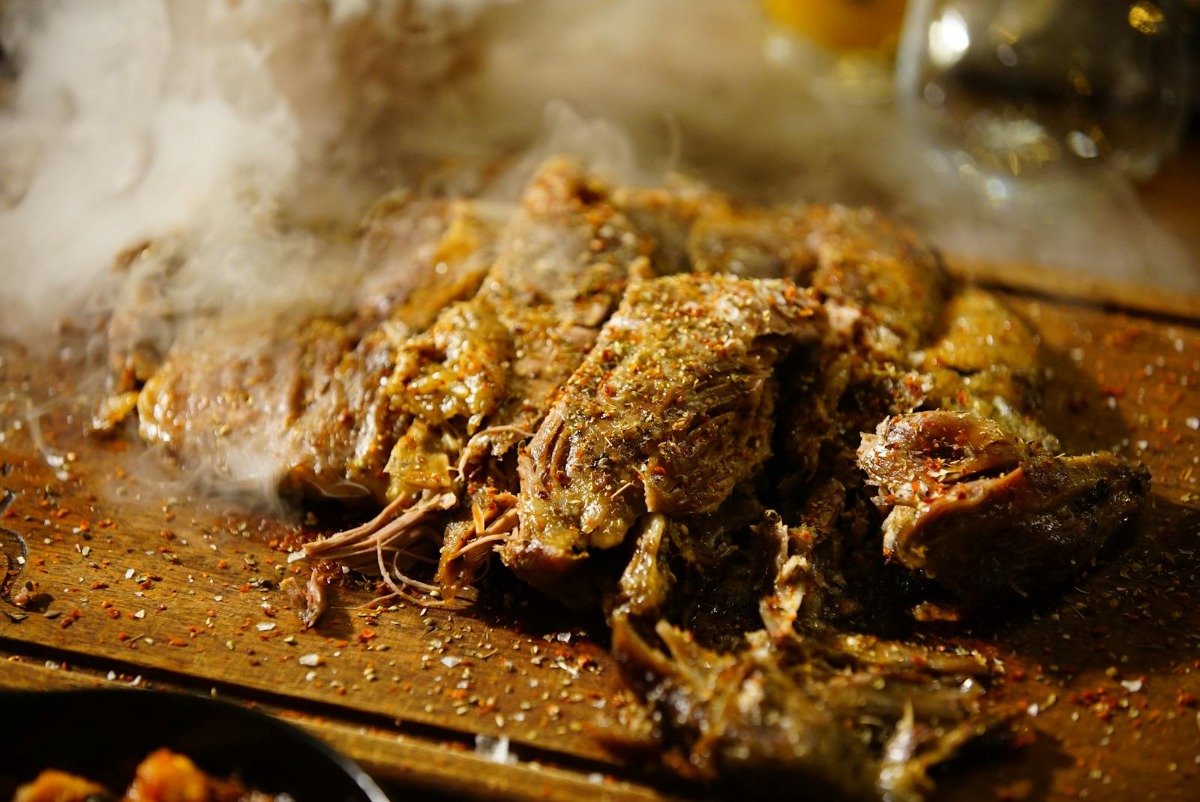
1. Pork Shoulder (Boston Butt) — The Best First Smoke
An 8-pound pork shoulder is the perfect first smoke. It’s cheap ($15–25), nearly impossible to ruin, and produces incredible pulled pork. The high fat content makes it forgiving — even if you overcook it slightly, it stays juicy. Smoke at 225°F to an internal temp of 203°F. Plan 1.5–2 hours per pound (12–16 hours total).
2. Chicken (Whole or Thighs) — Quickest Win
A whole chicken takes 3–4 hours and gives you confidence with a fast turnaround. Smoke at 275°F (higher than other meats to crisp the skin) until the breast hits 165°F internal. Thighs are even more forgiving than breasts. Stick to dark meat for your first poultry smoke.
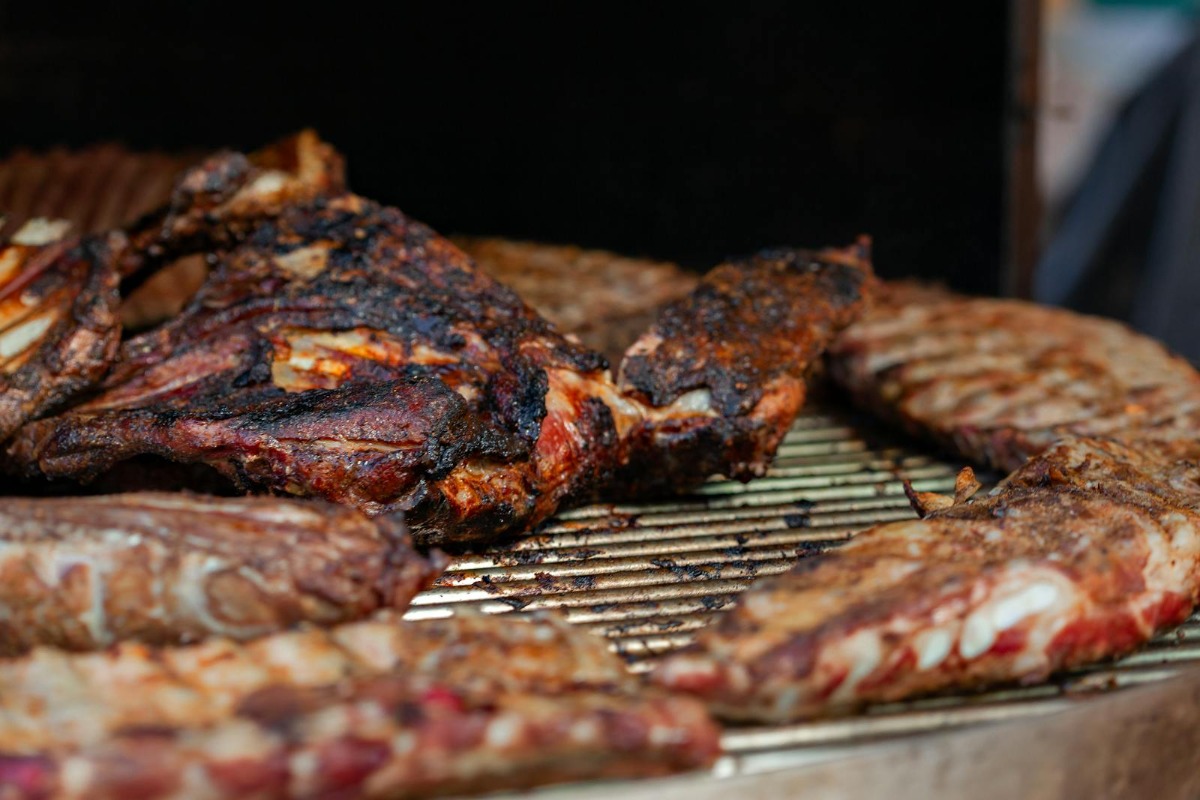
3. Pork Ribs (Baby Back or Spare) — Crowd Pleaser
Ribs are the classic crowd-pleaser and a great way to learn the wrap-and-rest technique. Use the 3-2-1 method (3 hours unwrapped, 2 hours wrapped in foil with juice, 1 hour unwrapped with sauce) for fall-off-the-bone results. Total time: 6 hours at 225°F. See our complete guide to smoking ribs for step-by-step instructions.
4. Whole Turkey — Holiday Hero
Forget the dry oven turkey — a smoked turkey is juicy, flavorful, and impressively easy. Smoke a 12-pound turkey at 275°F for about 4–5 hours until the breast hits 165°F. Use apple, cherry, or pecan wood. Brining overnight beforehand makes a massive difference.
5. Brisket — The Final Boss (Save for Later)
Brisket is the ultimate BBQ challenge — 12–16 hour cooks, expensive cuts, and unforgiving margins for error. Don’t start here. Once you’ve nailed pork shoulder and ribs, you’ll be ready. Our complete how to smoke a brisket guide walks you through every step when you’re ready.
Choosing the Right Smoking Wood
Wood is half the flavor of smoked meat. Different woods produce wildly different results — some are bold and assertive, others are subtle and sweet. Match the wood to the meat for best results.
| Wood | Intensity | Best For |
|---|---|---|
| Oak | Medium-strong | Brisket, beef, lamb — the all-purpose wood |
| Hickory | Strong | Pork shoulder, ribs, bacon |
| Mesquite | Very strong | Beef (use sparingly) |
| Apple | Mild, sweet | Chicken, turkey, pork |
| Cherry | Mild, fruity | Poultry, pork, fish (great color) |
| Pecan | Medium, nutty | Almost anything — versatile |
| Maple | Subtle, sweet | Poultry, pork, ham |
Avoid these woods: Pine, cedar, eucalyptus, and other softwoods contain resins that produce toxic smoke and ruin food. Stick to hardwoods only.
Wood form matters too: Chunks for charcoal smokers (long burn), pellets for pellet grills, chips for short cooks or electric smokers. For a deep dive into matching wood to specific cuts, see our complete wood guide.
The Smoking Process: Step-by-Step
Every smoke follows the same basic pattern, regardless of what meat you’re cooking:
- Trim and season the meat. Trim excess fat (leave about 1/4 inch). Apply rub generously, ideally hours before cooking
- Preheat the smoker. Get to your target temp (usually 225–275°F) and let it stabilize for 15–30 minutes before adding meat
- Add wood and place the meat. Use 2–3 chunks of wood for charcoal smokers, normal pellet feed for pellet grills
- Close the lid and walk away. The most important rule: don’t peek. Every time you open the lid, you lose 15–20 minutes of cook time
- Monitor temperature with your wireless probe. Watch the internal meat temp climb. It’ll often “stall” between 150–170°F — that’s normal
- Wrap if needed. For long cooks (brisket, pork shoulder), wrap in foil or butcher paper at the stall to push through
- Cook to target internal temperature. Each meat has a specific done temp — see the chart below
- Rest before serving. Critical step. 15–30 minutes for ribs and chicken, 1–4 hours for brisket and pork shoulder
Internal Temperatures Cheat Sheet
Forget cooking by time — always cook to internal temperature. Here are the target temps for the most common smoked meats:
| Meat | Smoker Temp | Target Internal | Approximate Time |
|---|---|---|---|
| Pork shoulder (8 lb) | 225°F | 203°F | 12–16 hours |
| Brisket (12 lb) | 225°F | 203–205°F (probe tender) | 12–16 hours |
| Baby back ribs | 225°F | 195°F (bone bend test) | 5–6 hours |
| Spare ribs | 225°F | 195°F | 6–7 hours |
| Whole chicken | 275°F | 165°F (breast) | 3–4 hours |
| Chicken thighs | 275°F | 175–185°F | 1.5–2 hours |
| Whole turkey (12 lb) | 275°F | 165°F (breast) | 4–5 hours |
| Beef short ribs | 250°F | 203°F | 6–8 hours |
| Salmon fillet | 180°F | 140°F | 1–2 hours |
Temperature Control: The #1 Skill to Master
If you can hold 225°F steady for 8 hours, you can smoke almost anything. Beginners who struggle with smoking almost always struggle with temperature control. Here’s how to nail it:
For pellet grills and electric smokers: The PID controller does the work. Just set the temp and let it run. Verify with a grate-level thermometer — cheap controllers can drift 25°F off target.
For charcoal smokers: Use the Minion method. Fill the firebox with unlit charcoal, light just a small handful in a chimney, dump them on top. The lit coals slowly ignite the unlit ones over 8–12 hours. Adjust temp with the bottom intake vent only — leave the top exhaust fully open.
Wind and weather matter. Cold weather makes your smoker work harder. Wind disrupts airflow. A welding blanket or insulated jacket helps in cold weather.
10 Common Beginner Mistakes (and How to Avoid Them)
1. Starting with brisket. Don’t. Brisket is expensive and unforgiving. Start with pork shoulder or chicken to learn fundamentals first.
2. Trusting the built-in thermometer. Smoker dome thermometers are notoriously inaccurate — sometimes 25°F off. Always use a probe thermometer at the grate level.
3. Opening the lid constantly. “If you’re lookin’, you ain’t cookin’.” Every peek costs 15–20 minutes of cook time and lets smoke escape. Trust your wireless probe.
4. Using too much wood. Meat only absorbs smoke for the first 4–6 hours. After that, you’re just adding bitterness. 2–3 chunks for charcoal smokers is plenty.
5. Using the wrong wood. Never use softwoods (pine, cedar, eucalyptus) — they produce toxic smoke. Stick to hardwoods.
6. Cooking by time instead of temperature. “Cook brisket for 14 hours” is bad advice — every brisket is different. Cook to internal temp and probe tenderness, period.
7. Skipping the rest. Cutting into a brisket immediately after cooking lets all the juices run out. Rest 30+ minutes minimum, 2–4 hours for big cuts.
8. Smoking cold meat straight from the fridge. Bring meat to room temp for 30–60 minutes before smoking. Cold meat takes longer to cook and absorbs less smoke flavor.
9. Thick white smoke. Heavy white smoke makes meat bitter. You want thin, light blue smoke (or nearly invisible). If you see billowing white smoke, your fire isn’t getting enough oxygen.
10. Buying every accessory. Most “must-have” smoker accessories are unnecessary. A good thermometer and a sharp knife are more important than fancy gadgets.
Your First Smoke: A 30-Day Roadmap
Don’t try to learn everything at once. Follow this 4-week progression to build skills quickly:
- Week 1: Smoke chicken thighs. 1.5–2 hours, hard to ruin, builds confidence with smoker basics
- Week 2: Smoke a pork shoulder. Your first long cook. Learn temperature control over 12 hours. End with delicious pulled pork
- Week 3: Smoke ribs using the 3-2-1 method. Learn the wrap technique that you’ll use for brisket later. Follow our complete rib guide
- Week 4: Smoke a whole chicken. Practice higher-temp poultry smoking. Try a different wood than you’ve been using
By the end of month one, you’ll have done 4 successful smokes and learned every skill you need to tackle bigger challenges like brisket.
FAQ: Smoking Meat for Beginners
What’s the easiest meat to smoke for beginners?
Pork shoulder (Boston butt) is the easiest. It’s cheap, forgiving (high fat content keeps it juicy even if overcooked), and produces incredible pulled pork. A close second is chicken thighs, which take only 90 minutes and are nearly impossible to dry out.
Do I need a dedicated smoker, or can I smoke on my grill?
You can absolutely smoke on a regular charcoal kettle grill using two-zone cooking (coals on one side, meat on the other). It works great for ribs, chicken, and small pork butts. Once you’re hooked, upgrade to a dedicated smoker.
How long does smoked meat take?
Depends on the cut. Quick smokes like chicken thighs take 1.5–2 hours. Ribs take 5–6 hours. Pork shoulder and brisket are 12–16 hour marathons. Always plan extra time — you can hold finished meat in a cooler for hours, but you can’t rush a slow cook.
What temperature should I smoke at?
225°F is the standard for most smoking. It’s the most forgiving temperature and produces the best bark and smoke flavor. Higher temps (250–275°F) work for poultry and faster cooks. Avoid going above 275°F for tough cuts — they need time to break down.
How much wood do I need?
Less than you think. For charcoal smokers, 2–3 fist-sized chunks of wood is plenty for a long cook. Pellet grills handle wood automatically. Too much wood causes bitter, acrid meat — not more flavor.
How do I know when meat is done?
Use a probe thermometer and cook to the target internal temperature for that meat (see chart above). For brisket and pork shoulder, also test for “probe tender” — the thermometer should slide in like warm butter. Time and color are unreliable indicators.
What is the “stall” and how do I get past it?
The stall happens at 150–170°F internal temp when evaporating moisture cools the meat, causing the temperature to plateau for hours. To push through it, wrap the meat in foil or pink butcher paper. Wrapping traps moisture and breaks the stall in 1–2 hours instead of 4–6.
Start Smoking This Weekend
Smoking meat is one of those skills that seems intimidating until you actually do it once — then it clicks. The principles are simple: low temperature, clean smoke, the right wood, a good thermometer, and patience.
Don’t wait until you have the “perfect” setup. Start with what you have, smoke a pork shoulder this weekend, and you’ll be hooked. Every cook teaches you something. Within a few weekends you’ll be the friend everyone wants invited to BBQ.
Your next steps:
- Pick your smoker — see the best smokers for beginners guide
- Choose your wood — read the complete wood guide
- Start with ribs — follow our step-by-step rib guide
- When ready for the big leagues — our complete brisket guide walks you through every step
- On a budget? See the best pellet grills under $500 or compare Pit Boss vs Traeger